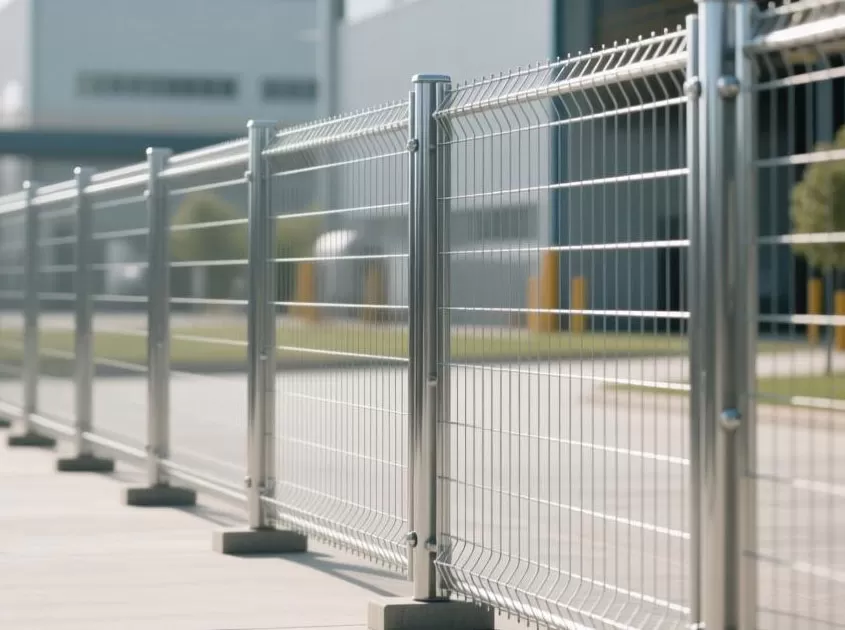
A Step-by-Step Guide to Using Expanded Metal Mesh for DIY Projects
Expanded metal mesh is a versatile and functional material that opens up a world of possibilities for DIY enthusiasts. Whether you're a seasoned craftsman or a beginner looking to explore new creative horizons, working with expanded metal mesh can add a unique touch to your projects. In this comprehensive guide, we'll take you through the step-by-step process of using expanded metal mesh for various DIY endeavors.
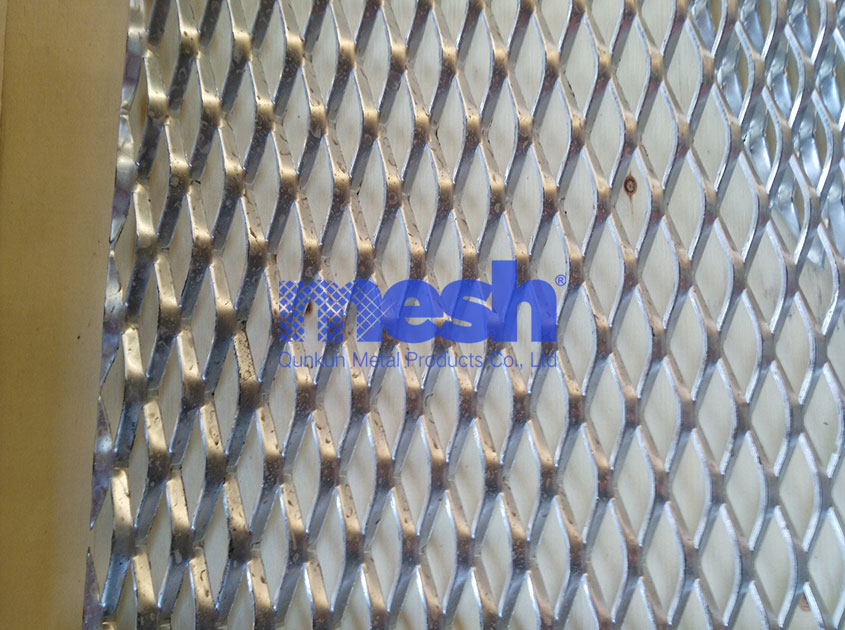
Gather Your Materials
Before you dive into your DIY project, make sure you have all the necessary materials on hand. Here's a basic list to get you started:
Expanded metal mesh sheets in the desired size and pattern
Safety gloves and goggles
Measuring tape
Metal cutters or shears
Marker or chalk
Fasteners (such as screws, nails, or clips)
Protective coating or paint (if needed)
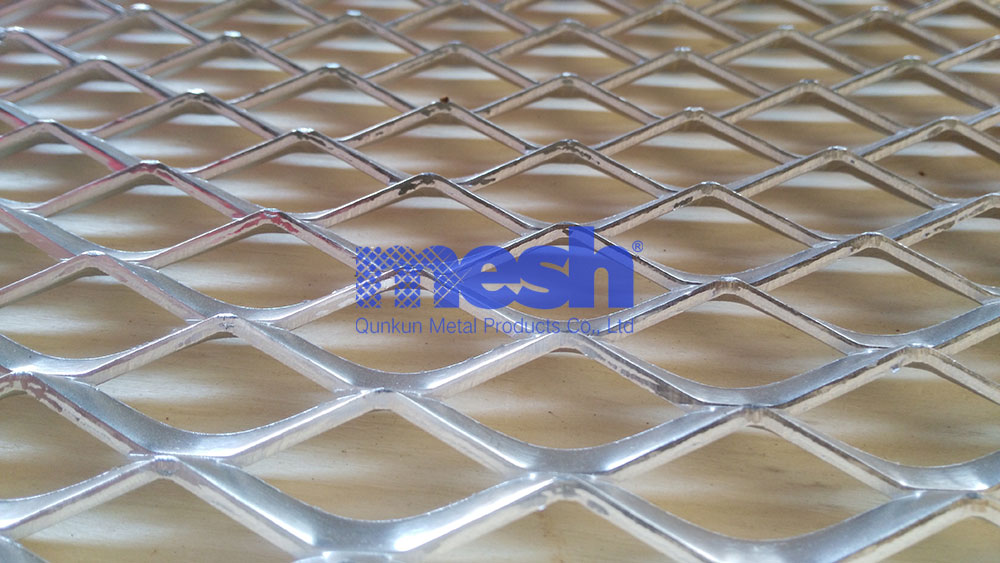
Plan Your Project
Decide on the type of DIY project you want to undertake. Whether it's a decorative room divider, a garden trellis, a unique lampshade, or a functional storage solution, having a clear plan in mind will help streamline the process.
Conclusion
Working with expanded metal mesh in your DIY projects opens up a world of creative opportunities. From functional furniture to artistic installations, this versatile material adds a modern and industrial flair to your creations. By following this step-by-step guide, you can confidently embark on your expanded metal mesh DIY journey and bring your imaginative ideas to life.
-
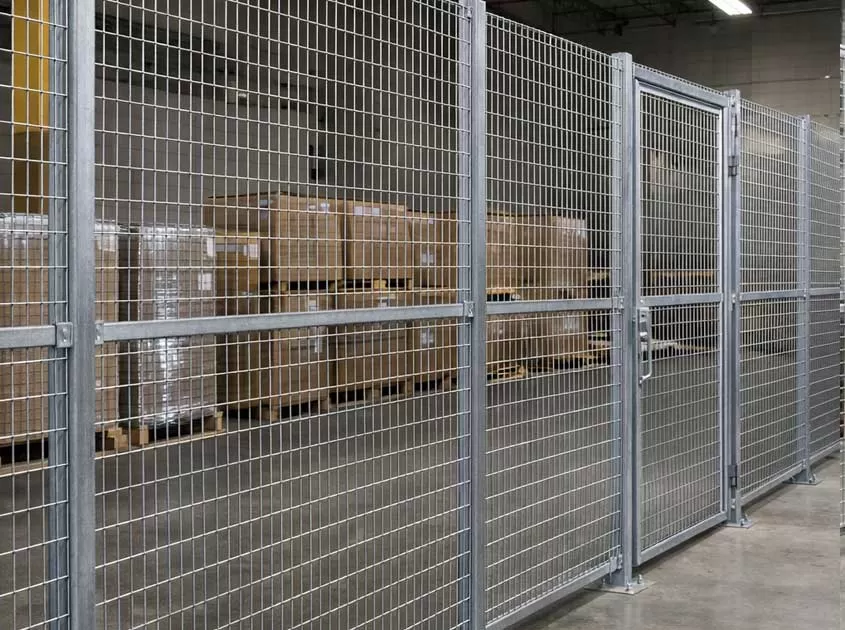 Best Welded Wire Mesh for South American Markets Feb 03, 2026
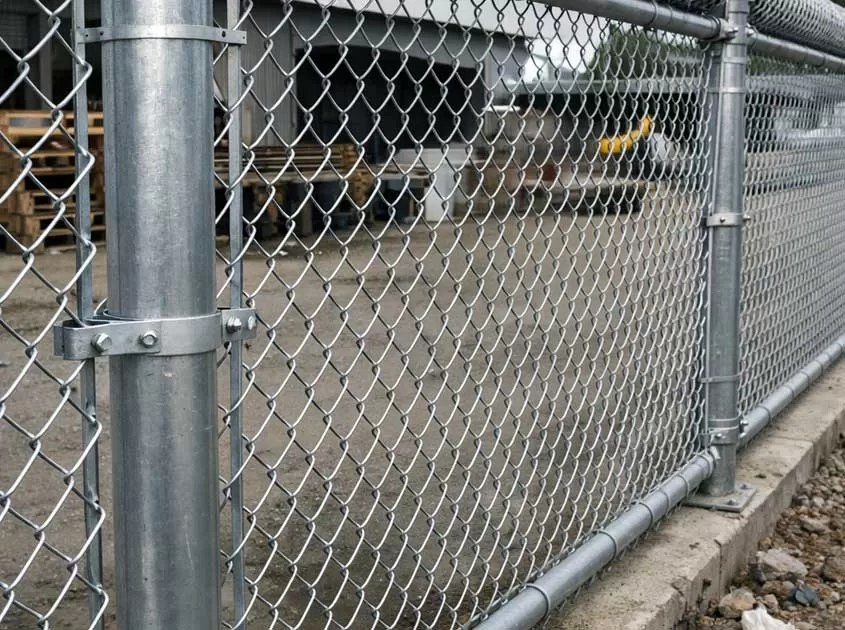 Why Galvanized Wire Mesh Is Popular in South America Jan 26, 2026
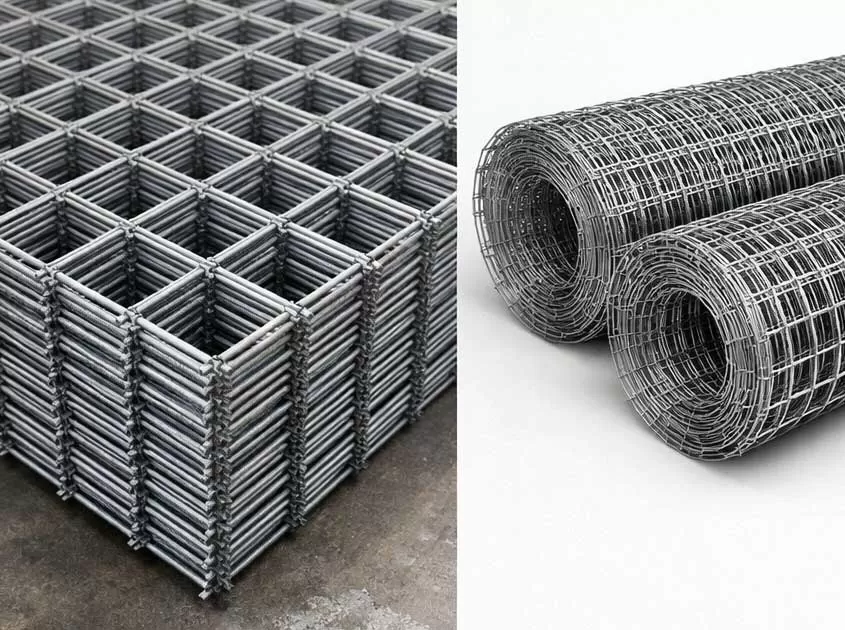 How to Check the Quality of Welded Wire Mesh Jan 16, 2026

- Tel.: +86 311 83077076
- E-mail: sales@qunkunmetal.com
- Skype: qunkunsales01
- WhatsApp: 8618032412189
- Add.: No.69 The Filter Industrial Part of Anping, Hebei, China


